0. Introduction and setup
The goal of this tutorial is to provide an introduction to progamming the NASM assembly language for programs that run without an operating system.
(Many people on their desktop/laptop computers use the Microsoft Windows operating system. Others use the Apple operating system (iOS). Less common operating systems for desktop/laptop computers are Linux, FreeBSD and OpenBSD. On phones, the popular operating systems are Google's Android and again, Apple's iOS. the goal of this tutorial is to create programs that you could run on a blank computer that doesn't have any of the above operating systems installed.)
Because of the physical steps required to put a program on a computer without an OS to run and test the program, it is easier to use QEMU, which is an "emulator", to test and run the NASM assembly programs. An emulator is a computer program that can run another program as though it is some other program or device. So QEMU will run our assembly programs and produce the same output that a blank computer would.
This tutorial will show how to get a blank computer to run a program, how to display text on the computer's monitor, how to receive input from a keyboard, and how to read data from a floppy disk. (Floppy disk is shown instead of DVDs for simplicity. Because we are using QEMU, a virtual computer, you don't need to have any physical floppy disks or floppy disk drive, because we will be using virtual floppy disks as well.)
To follow this tutorial, you will need to download and install two programs, NASM and QEMU.
0.1 Download QEMU
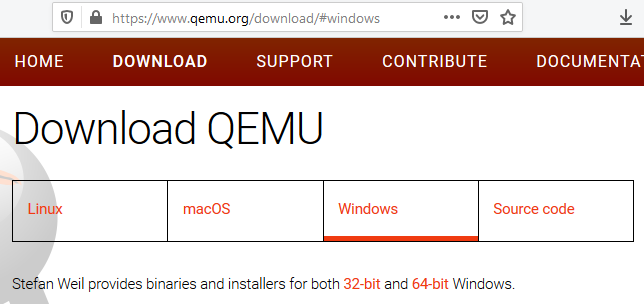
Link to download QEMU is https://www.qemu.org/download/#windows.
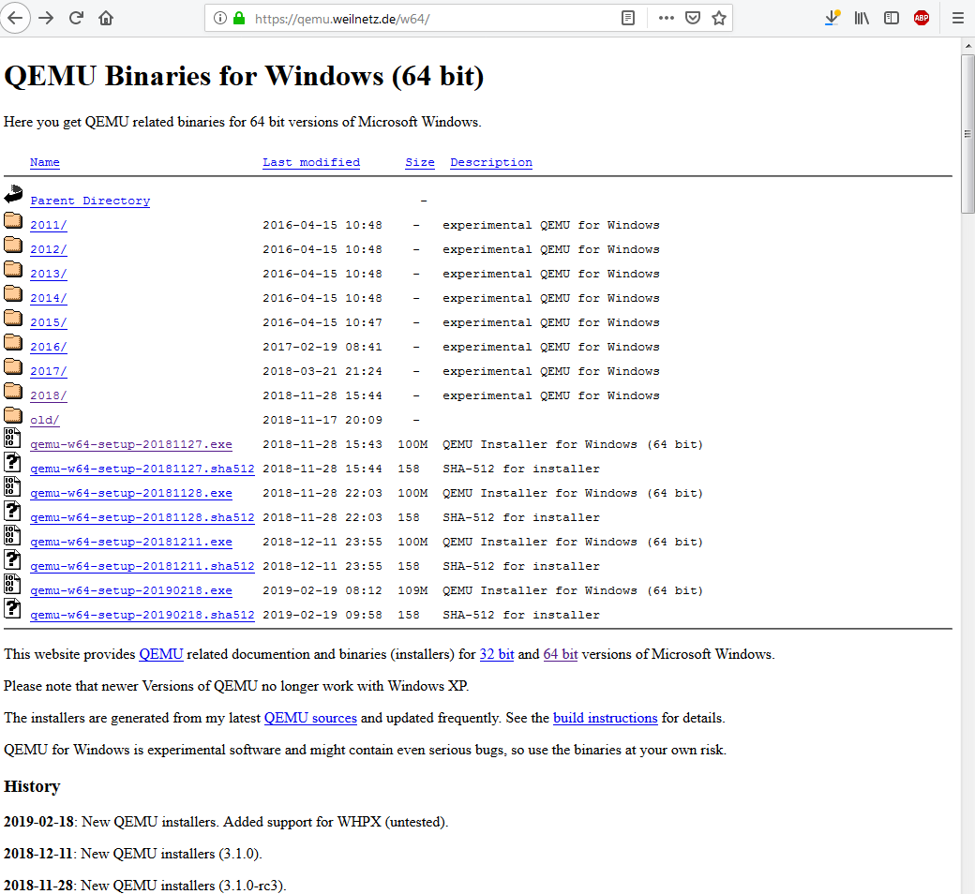
Select 32-bit or 64-bit for your operating system:
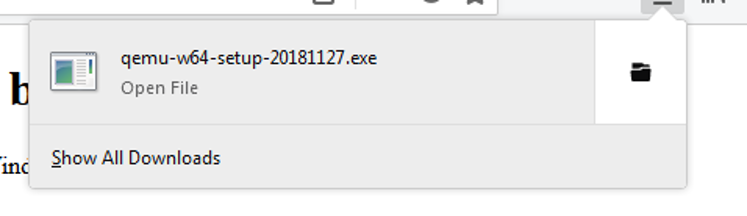
Open file:
0.2 Download NASM
Link to download NASM is https://www.nasm.us/.
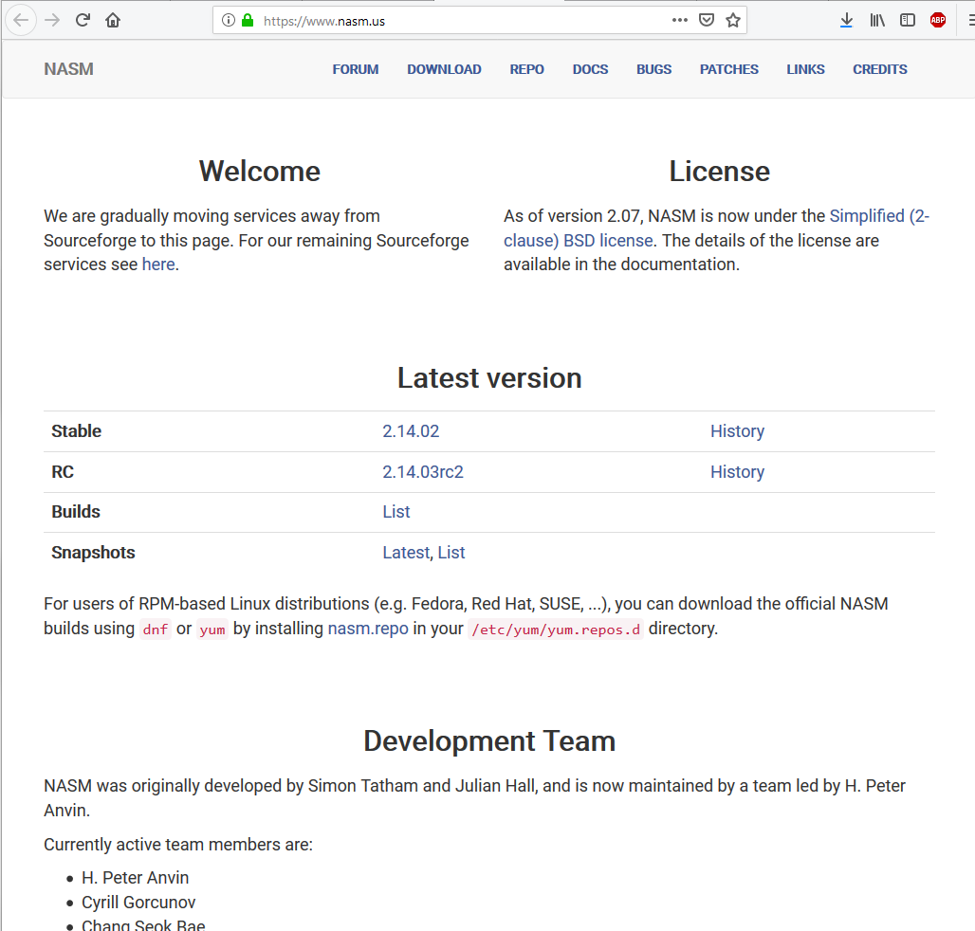
Select the desired operating system and version, in this example “win64” for 64-bit Windows:
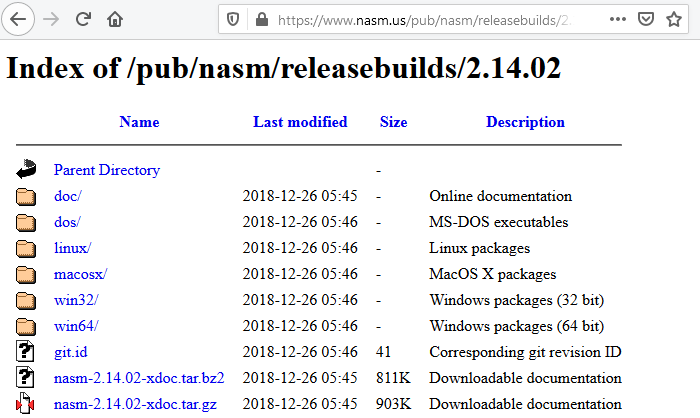
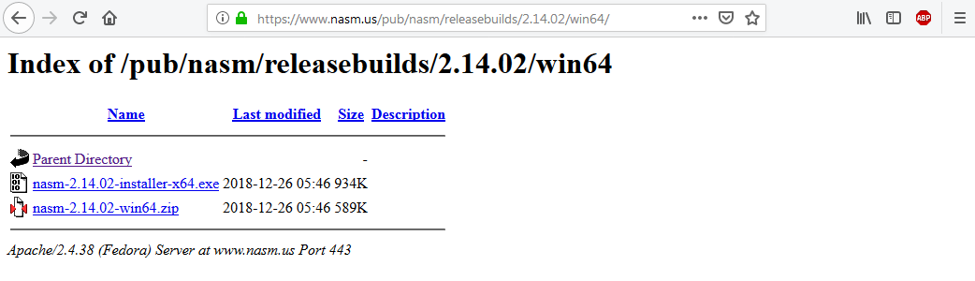
To download the NASM Installer, click “nasm-2.14.02-installer-x64.exe”:
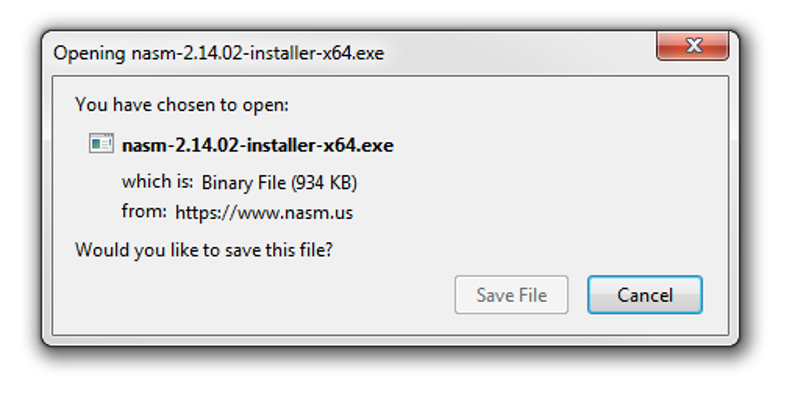
Then click "Save File":
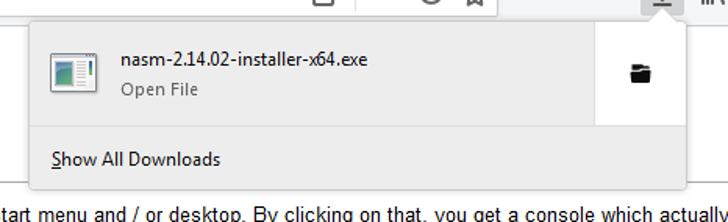
After download is completed:
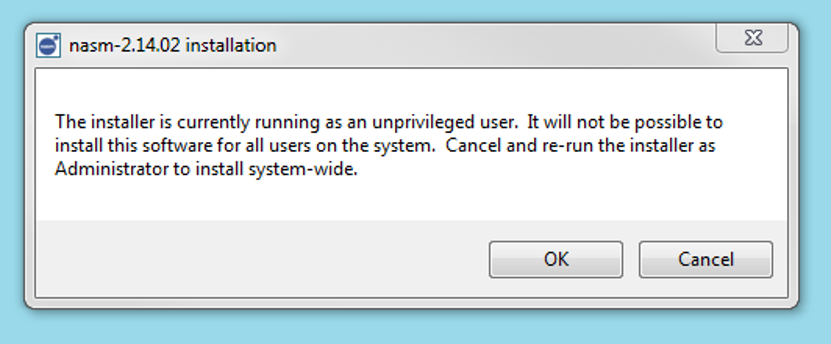
I received a warning, and clicked "OK":
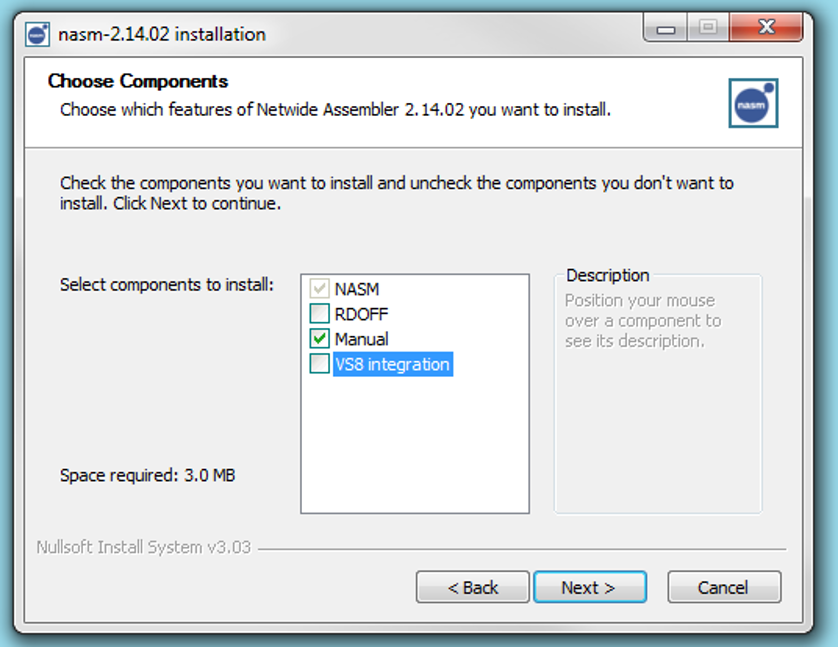
Can uncheck “RDOFF” and “VS8 integration”:
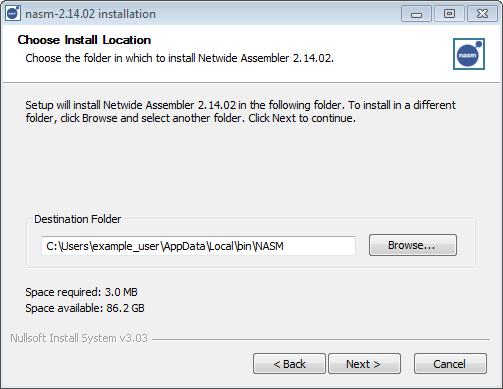
Next screen:
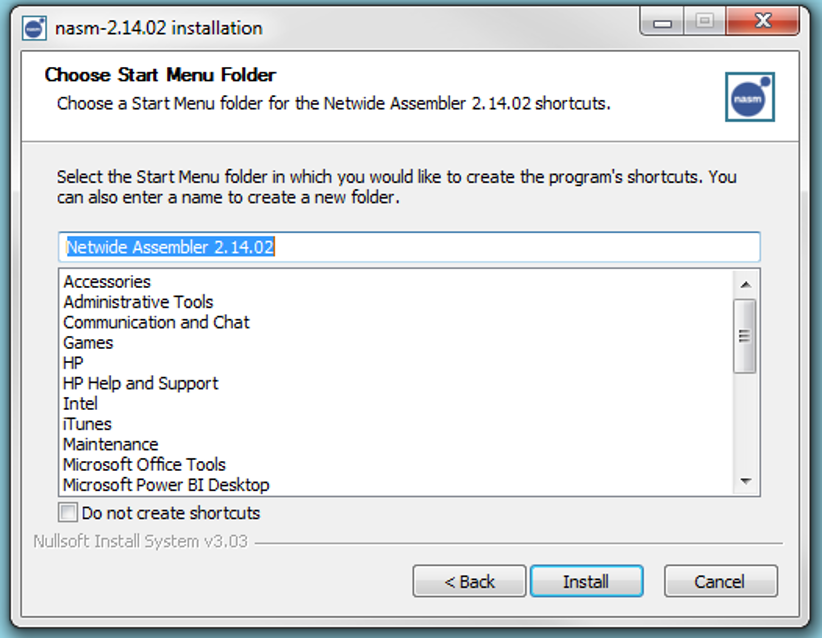
Then:
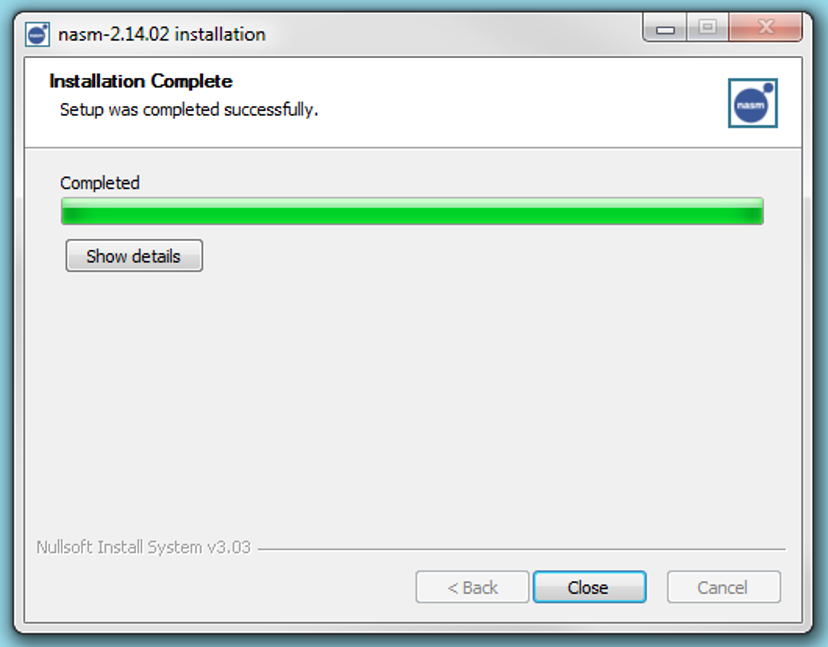
Close the Installer:
0.3 Confirm QEMU is installed
To confirm QEMU is installed, can run the following command that
just gives the software version of QEMU that is installed:
"C:\Program Files\qemu\qemu-system-x86_64.exe" -version
Open Windows command prompt by clicking the start menu and searching for “cmd” and then clicking on “cmd.exe”. Type the command after the ">" and press "Enter":

Gives:

0.4 Run program
To run a NASM assembly program, need to first create the NASM assembly program, then run it with QEMU.
There are two steps to creating the NASM assembly program. First, we need to create a file that will store the written code for the program. Second, we need to translate that written code into code the computer can understand. This means the "binary" code, or the 0s and 1s that a computer can understand. The process of translating the human-written assembly instructions into the binary code is called "assembling" the code, and the program that translates the instructions is called an "assembler". (So "NASM" is said to be an "assembler". NASM is short for "Netwide Assembler".)
As QEMU is a virtual computer, we need a way of loading the data onto it. One way of doing this is to create a virtual floppy disk, and then use that virtual floppy disk in the virtual computer.
So, the four steps will be to create the NASM assembly file, assemble it, put the assembled binary code on a floppy disk image, and then read that floppy disk image with QEMU.
0.4.1 Create NASM assembly file
Open a text file and save as with a “.asm” extension. Any name for the file prior to the ".asm" will work, in this example, the name "basic" is chosen, giving a file name of “basic.asm”.
The first example in the tutorial is:
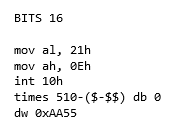
Copy and paste this code into the “basic.asm” file.
0.4.2 Convert NASM assembly file to binary code
Open Windows command prompt by clicking the start menu and searching for
“cmd” and then clicking on “cmd.exe”. Change directory into whatever folder
you saved the .asm file by using “cd C:\folder”. For example, I saved the
.asm file in the folder "", so used the command:
cd C:\
Then
C:\Users\example_user\AppData\Local\bin\nasm\nasm.exe -f bin -o basic.bin basic.asm
I don’t remember exactly what the “-f” and “-o” are for, I think it may
have something to do where if you don’t specify them then nasm will create
a “Windows binary” (or a binary for whatever operating system you are using,
such as a “Linux binary” for Linux) which only runs in the current operating
system but isn’t a generic binary.
Note: I had trouble adding nasm to my “path” (path environment variable).
That would allow you to shorten the command to
"nasm.exe -f bin -o basic.bin basic.asm".
As a work-around I just copy paste the command into the command prompt once
and then use the arrow keys to move back up to the command and run the
again as needed, rather than continuing to type the command.
0.4.3 Create floppy disk image
copy /b /y basic.bin basic.flp
Copy the binary file to a floppy disk image (.flp) (can call it whatever you want, doesn’t need to be the same name as the binary file). Creating the floppy disk image is a built in function of Windows and you don’t need to download anything for it. The “/y” makes it so the basic.flp file is automatically overwritten if it already exists without it prompting you and you having to type “y”.
0.4.4 Boot QEMU from floppy disk image
Use the following command to boot QEMU from floppy disk image:
"C:\Program Files\qemu\qemu-system-x86_64.exe" basic.flp
I assume you can boot from a cd image or hard disk image or whatever else, but floppy is the simplest to get started with.
0.4.5 Combine into single command
Can combine two commands using "&&". ("&&" executes the second command only if the first one completes. A single “&” executes the second command even if the first one fails.)
So, can combine the above into the following single command that
will take the text file with “.asm” extension, assemble it into a binary file
using NASM, copy it to a floppy disk image (.flp file), then boot qemu from .flp
file:
C:\Users\example_user\AppData\Local\bin\nasm\nasm.exe -f bin -o basic.bin basic.asm &&
copy /b /y basic.bin basic.flp && "C:\Program Files\qemu\qemu-system-x86_64.exe"
basic.flp
0.5 Background
0.5.1 Number systems
At a basic level, a computer stores data on what are called “registers”, and does computations by using the data from the registers and processing it. It can, for example, add, subtract, multiply and divide the number stored on one register with the number stored on another register. It can also compare the number held in one register with the number held in another register.
As many people know, a computer stores its data as 1s and 0s rather than
using the 0-9 numbers that people usually do. The 0-9 numbers are called the
decimal system, as there are 10 numbers and decem is Latin for the number 10.
(There are ten numbers in the sense that there are 0,1,2,3,4,5,6,7,8, and 9.
When we get to 10 we don’t have an additional new symbol, it is composed of
two of the original 0-9 numbers. Likewise for 11, 12, and so on, so it is
said that there are 10 numbers.) Because the system a computer uses is
composed of only two numbers, 0 and 1, rather than 10 as in the decimal
system, it is called “binary”, “bi” being a prefix meaning “two”.
Table comparing decimal to binary:
| dec | bin | dec | bin | dec | bin | dec | bin |
| 0 | 0 | 16 | 10000 | 32 | 100000 | 48 | 110000 |
| 1 | 1 | 17 | 10001 | 33 | 100001 | 49 | 110001 |
| 2 | 10 | 18 | 10010 | 34 | 100010 | 50 | 110010 |
| 3 | 11 | 19 | 10011 | 35 | 100011 | 51 | 110011 |
| 4 | 100 | 20 | 10100 | 36 | 100100 | 52 | 110100 |
| 5 | 101 | 21 | 10101 | 37 | 100101 | 53 | 110101 |
| 6 | 110 | 22 | 10110 | 38 | 100110 | 54 | 110110 |
| 7 | 111 | 23 | 10111 | 39 | 100111 | 55 | 110111 |
| 8 | 1000 | 24 | 11000 | 40 | 101000 | 56 | 111000 |
| 9 | 1001 | 25 | 11001 | 41 | 101001 | 57 | 111001 |
| 10 | 1010 | 26 | 11010 | 42 | 101010 | 58 | 111010 |
| 11 | 1011 | 27 | 11011 | 43 | 101011 | 59 | 111011 |
| 12 | 1100 | 28 | 11100 | 44 | 101100 | 60 | 111100 |
| 13 | 1101 | 29 | 11101 | 45 | 101101 | 61 | 111101 |
| 14 | 1110 | 30 | 11110 | 46 | 101110 | 62 | 111110 |
| 15 | 1111 | 31 | 11111 | 47 | 101111 | 63 | 111111 |
Addition with binary numbers works like with decimal numbers. Like in decimal if you add 1 to 9 you will carry a one to the next digit, with binary if you add 1 to 1 you will carry a 1 to the next digit. So, 0 + 0 = 0, 0 + 1 = 1, and 1 + 1 = 10. Continuing on, 10 + 0 = 10, 10 + 1 = 11, 11 + 1 = 100, 11 + 10 = 101, etc.
So, supposing we have two registers called A and B, if register A has a value of 101 and register B has a value of 100, and we were adding the value in register B to the value of register A, after the addition register A would have a value of 1001.
To avoid writing out all of the 1s and 0s, it is easier to use a shorthand. A third number system, “hexadecimal” consisting of 16 numbers is used, as 16 is 2^4, and so can easily represent four binary numbers per hexadecimal number. (A one-digit binary number 2^1 = 2 different numbers; 0 or 1. A two-digit binary number has 2^2 = 4 possible numbers; 00, 01, 10, and 11. A three-digit binary number can be 2^3 = 8 different numbers; 000, 001, 010, 011, 100, 101, 110, and 111. A four-digit binary number can then be 2^4 = 16 different possible numbers.)
Hexidecimal consists of the typical 0-9 numbers of the decimal system, with the addition of the six letters A, B, C, D, E, and F. To first compare hexadecimal to the decimal system, numbers 0-9 are the same, but then 10 in decimal is equal to A in hexadecimal. 11 in decimal is B in hexadecimal, 12 is C, and so on until 15 is F. 16 is then 10, 17 is 11, 18 is 12
Comparing hexadecimal to binary then, 0 is equal to the first four digit
binary number, 0000. 1 is 0001, 2 is 0010, and so on until 9 is equal to 1001.
A is then 1010, B is 1011, and so on.
Table comparing decimal to hexidecimal to binary:
| dec | hex | bin | dec | hex | bin | dec | hex | bin | dec | hex | bin |
| 0 | 0 | 0 | 16 | 10 | 10000 | 32 | 20 | 100000 | 48 | 30 | 110000 |
| 1 | 1 | 1 | 17 | 11 | 10001 | 33 | 21 | 100001 | 49 | 31 | 110001 |
| 2 | 2 | 10 | 18 | 12 | 10010 | 34 | 22 | 100010 | 50 | 32 | 110010 |
| 3 | 3 | 11 | 19 | 13 | 10011 | 35 | 23 | 100011 | 51 | 33 | 110011 |
| 4 | 4 | 100 | 20 | 14 | 10100 | 36 | 24 | 100100 | 52 | 34 | 110100 |
| 5 | 5 | 101 | 21 | 15 | 10101 | 37 | 25 | 100101 | 53 | 35 | 110101 |
| 6 | 6 | 110 | 22 | 16 | 10110 | 38 | 26 | 100110 | 54 | 36 | 110110 |
| 7 | 7 | 111 | 23 | 17 | 10111 | 39 | 27 | 100111 | 55 | 37 | 110111 |
| 8 | 8 | 1000 | 24 | 18 | 11000 | 40 | 28 | 101000 | 56 | 38 | 111000 |
| 9 | 9 | 1001 | 25 | 19 | 11001 | 41 | 29 | 101001 | 57 | 39 | 111001 |
| 10 | A | 1010 | 26 | 1A | 11010 | 42 | 2A | 101010 | 58 | 3A | 111010 |
| 11 | B | 1011 | 27 | 1B | 11011 | 43 | 2B | 101011 | 59 | 3B | 111011 |
| 12 | C | 1100 | 28 | 1C | 11100 | 44 | 2C | 101100 | 60 | 3C | 111100 |
| 13 | D | 1101 | 29 | 1D | 11101 | 45 | 2D | 101101 | 61 | 3D | 111101 |
| 14 | E | 1110 | 30 | 1E | 11110 | 46 | 2E | 101110 | 62 | 3E | 111110 |
| 15 | F | 1111 | 31 | 1F | 11111 | 47 | 2F | 101111 | 63 | 3F | 111111 |
Like it is convenient to use a hexadecimal number to stand for 4 binary digits, it is convenient to use register sizes that are multiples of four, so that a binary number held in a register can be represented by a one of more digit hexadecimal number.
Typically 4 binary digits don’t hold enough information for useful calculations, so for the most part, we will work with groups of 8 binary digits or more. “Bit” is a shorthand for “binary digit”, so moving forward we will use that terminology, and to restate the previous , typically 4 bits don’t hold enough information for useful calculations, so for the most part, we will work with groups of 8 bits or more. Because 8 bits is a useful grouping, it has a name, which is “byte”. Many people will be familiar with this word from the memory in their computer or phone, where say a phone may have 32 Gigabytes (GB) of memory. (“Giga” is the metric prefix meaning “billion”, so the phone would have 32 billion bytes of memory, or 256 billion bits (0s and 1s) of memory.) As 4 bits can be represented by one hexidecimal number, a byte can then be represented by a two-digit hexadecimal number.
Current computers are typically 32-bit or 64-bit computers, meaning they use registers that are 32 or 64 bits wide, that is, registers that hold 32- or 64-digit binary numbers. A 32-bit register can have its number represented by a four-digit hexadecimal number, and a 64-bit register by an eight-digit hexadecimal number. A 32-bit computer has a sub-mode that can run programs meant for older 16-bit computers, and a 64-bit computer has sub-modes for both 16-bit and 32-bit programs. For simplicity, this tutorial will only show assembly programs for the 16-bit mode.
0.5.2 Registers
There are four main types of registers. The following diagram shows the four main types for a 32-bit computer, or a 64-bit computer running in 32-bit mode.
Source:
Intel 64 and IA-32 Architectures Software Developer's Manuals
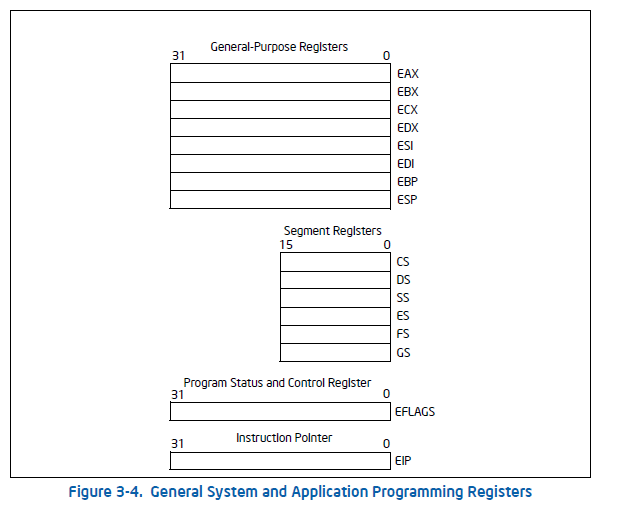
EAX, EBX, ECX, and EDX of the general-purpose registers are typically used for storing data that you are working with and performing calculations on.
ESI, EDI, EBP, and ESP of the general-purpose registers are typically used for storing memory addresses for data you are either reading or writing from.
The segment registers are also used for storing memory addresses.
The Program Status and Control Register is a register for setting options, where typically each bit of the 32-bits can set an option on or off.
The instruction pointer register points to the memory address of 32-bits of code that contain the instruction the computer will execute next.
Note that the numbering of the bits in the registers goes from left to right, starting with 0 and going to 31.
Sometimes when working with the general-purpose registers, you are only looking at 16 bits or 8-bits, and it is useful to have names for just those parts of the 32-bit registers. (The tutorial starts with 16-bit mode anyway, these will be the names of the 16-bit and 8-bit registers in 16-bit mode as well.):
Source:
Intel 64 and IA-32 Architectures Software Developer's Manuals
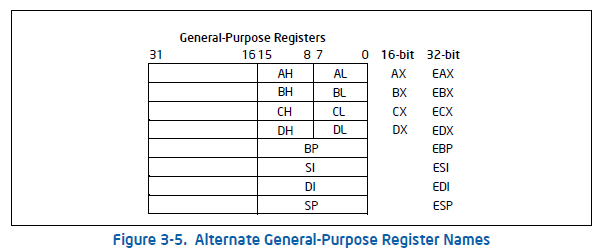
For EAX, for example, the first 8 bits from the right (bits 0-7) are known as AL, and the next 8 bits (bits 9-15) are known as AH. (The “L” in AL standing for “lower” and the “H” in AH standing for higher.) The first 16 bits (bits 0-15) are known as AX.
For EBP-ESP, you typically won’t need to work with just 8 bits in either 16-bit or 32-bit mode, so they only have names for the first 16-bits.